Table of Contents
It all started with the onion.
The other day, I cleaned out my fridge, because what does one do after a few days of staying in due to the coronavirus restrictions? They eventually clean everything. 🙂
So, I found a head of red onion in the vegetable compartment of the fridge, which had sprouted in the meantime. Poor thing probably had been there for months, because the tray above it had covered it so much that I didn’t even know it existed (I know, I know, mea culpa, shame, shame…). But since it was already in my hand, I thought it should get some water, why not, I don’t have many plants at home, one more wouldn’t hurt.
It got a great, illuminated spot in one of the alcoves of the living room and I waited to see what would happen.
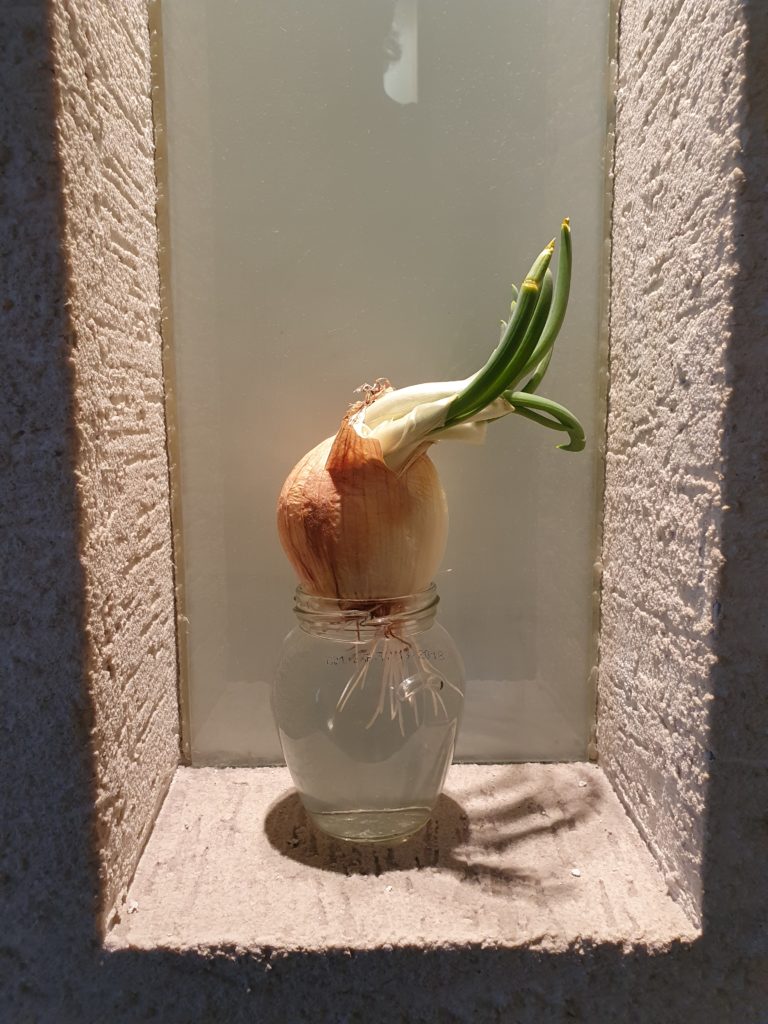
I didn’t have to wait long, because already by the first day, I noticed that the little onion had started growing visibly, and from that point, my imagination kicked in.
The making of an onion
I looked into the matter a little and, as it turns out, of course, the sprouted top of the red onion is edible, and in fact, is equivalent to a new onion.
Onions are known to have many beneficial effects, including being rich in vitamin C and antioxidants, which contribute to lowering blood pressure. Not to mention that a small onion can be used in almost any dish. 🙂

The recipe is that simple:
- Take an onion, and cut off the root part – it is enough to cut off three-quarters, but choose one where there is still white color between the roots, i.e. it has not dried out completely.
- Remove the remaining yellow skin around the root, as it will rot in the water and have an unpleasant smell over time.
- Put the root part in water so that the roots are submerged. A glass or a small jar is a perfect choice for this.
- Give them light! They naturally prefer direct natural light, so it’s better to put them in a window or on a balcony, but I’ll let you in on a secret – you can grow them indoors. I lit my onion with a regular spotlight for 10-12 hours a day, and you’ll soon see the results.
- Change the water every few days.
And that’s it. All you have to do is wait a few days – probably a little longer if you start with an onion that hasn’t sprouted yet – and your onion will start growing nicely.
How nicely?
The first day, I set up my camera and took a few photos of it every day to show the results.
In the following video, you can see how much my onion grew in just 5 days.
The sight of the onion growing towards the light hour by hour was both terrifying and mesmerizing. By the third day, it had grown so much that it had fallen out of its small jar, so I had to transfer it to a larger one.
In total, after a week, it had grown enough that I felt it was time to harvest it and my fresh, homegrown onion became a delicious addition to my morning omelette and lunch onion soup.
But why am I talking about this?
“If the Mountain won’t go to Mohammed…”

The “home imprisonment” caused by the coronavirus makes people appreciate nature and walking outside more – or even if they have a balcony at home…
In addition to the social separation mentioned in my previous post, the other biggest psychological strain is the longing for nature – especially when the weather is good. Being close to nature not only calms people down, but several studies prove that it also has a positive effect on our health. What’s more, there exists the so-called shinrin-yoku, loosely translated as forest bathing – that is, the importance of “immersing” our senses in nature during a forest hike or walk.
Although shorter health walks are not prohibited, in view of the current situation, I consider it a more responsible choice if, instead of visiting the now more frequently visited hiking spots, we try to sneak as much “nature” into our homes as we can.
It might sound stupid, but I, for example, in the context of working from home, envied the fact that the chirping of birds from colleagues with gardens have always filtered into the conversation during online meetings, and with this basic noise generator website, I’ve created my own background noise of birdsong at home. You adjust the sliders according to what you want to hear in the background (birdsong, crackling firewood, rain, wind, chirping, but there is also coffee house sounds, etc.) and just immerse yourself.
And of course, if you’re searching on YouTube, you can find plenty of examples for forest sounds, or others.
It’s a small thing, but I love it. It goes on all working hours and is very pleasant.
Another tip is that instead of the usual movies and series, we should sometimes choose the many beautiful documentaries that are available on the go (from torrents, on Netflix or on the usual nature film channels, or even on YouTube for free).
But I deviated a little from the original subject, so now we’re going to dive into the lecho, as we Hungarians like to say – no, it’s not that lecho, although it’s good if it has onions. 🙂
Growing plants at home
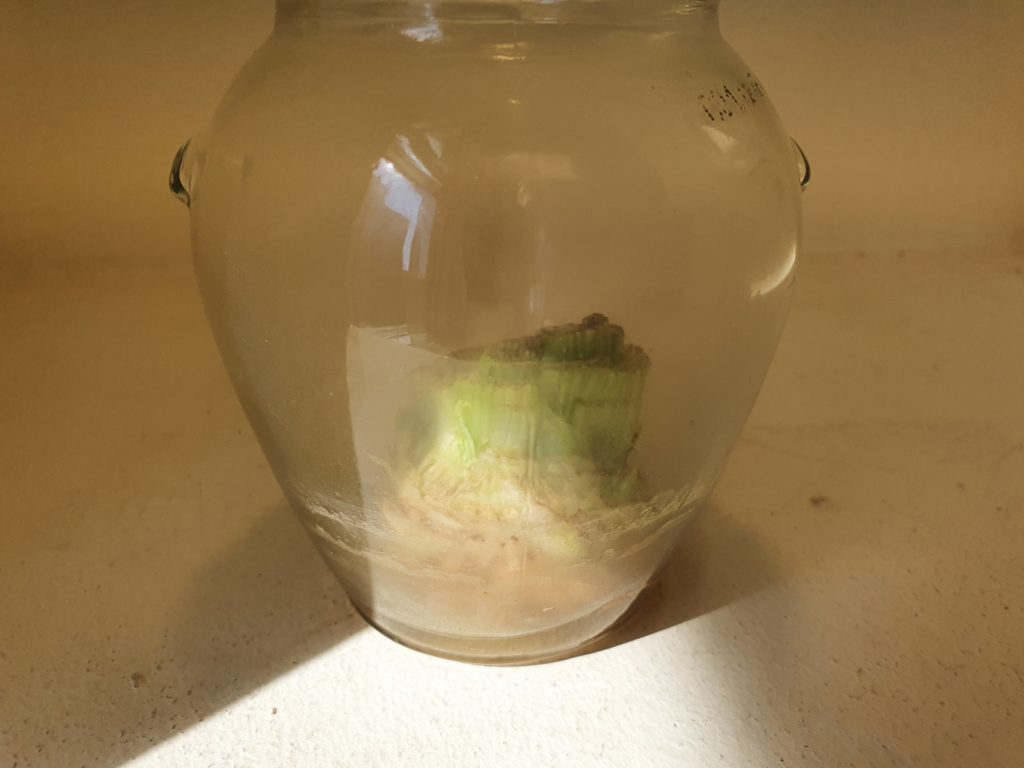
Encouraged by the success of the onions, I quickly made my way to the refrigerator again to look into what else could be grown at home. I also found some leftover celery stalks, which also produced very nice celery over the course of a week and a half or two.
It was like this on April 3:
And by April 16, it had grown to:
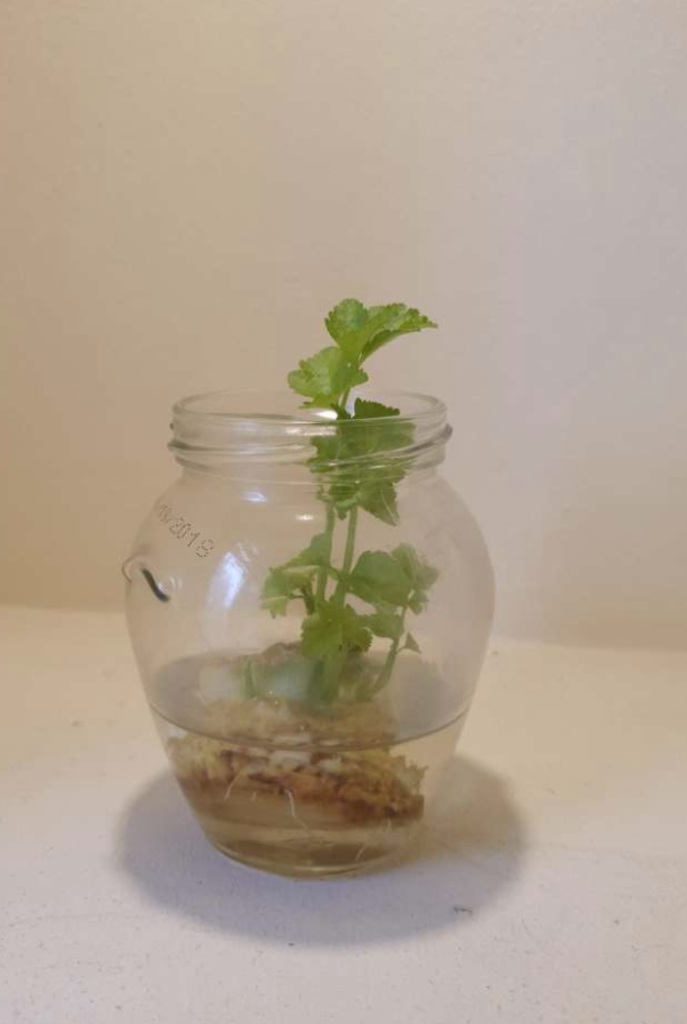
The ingredients were as follows: a 5W spot lamp and water. That’s it.
As you might guess, all root vegetables, such as other types of onions or even salad greens, can be regrown using this method.
But we don’t have to stop there, since most herbs, such as basil, sage, parsley, oregano, mint or rosemary (to name just a few) can be grown in our apartment, as long as we provide them with a few basic things. And most of them are not too picky about their quality or quantity.
And if that’s the case, who wouldn’t want to flavor their divine Italian tomato soup with freshly picked, home-grown basil?
I want to grow my own herb!
Well, if we decide to create a small vegetable garden at home and want to germinate seeds at home, I warn everyone in advance that for such an operation we need to invest serious sums and almost have brain surgery skills…
I’m just kidding – the whole thing has a minimal cost and you only have to pay attention to a few things. 🙂
The 5-liter general potting soil available in the smallest package at the nearest florist costs about HUF 3-400 – but if you can, get peat-free soil, because it is the best for herbs. The package of seeds to be germinated also ranges in price from a few to hundreds of forints.
And if we have purchased the potting soil and the seeds we want to grow, in most cases we will not need anything else from the store.
A houseplant needs these things:
- A place where it can grow – it should be some kind of container, but you don’t necessarily have to think of a flower pot. This includes the potting soil.
- Light with which you photosynthesize – you don’t necessarily need natural sunlight here either, but of course it’s the best.
- Warm, where they feel good – this is quite important for sprouting the seeds at the beginning.
- And water, the life-giver – which will make our plants grow.
Then let’s look at the process illustrated with an example.
Example – sprouting at home: parsley
Note: although the example is about parsley, I also planted other herbs, such as dill and basil, as well as tomato and cherry tomato seeds among the vegetables.
With a little creativity, you can find a tool to replace the pot at home – for example, a cream or yogurt glass is traditionally used for germination, but a plastic storage box for packaging tomatoes and other vegetables is also perfectly suitable. The point is to have potting soil at a depth of 5-6 centimeters.
Using an improvised method, I removed one of the long sides of the liter Mizo milk box with a knife, and as a placemat I used the half-kilo plastic box of chicken breast bought in Spar, which fit the milk box just right 🙂

It is important to cut holes in the bottom of the chosen container for drainage (I did this afterwards), and for this reason, to provide it with a pad. Some people swear by pouring water into the mat when watering, so the plant will be able to absorb the amount it needs through the holes, and by the way, you can see when re-watering is necessary.
The soil poured into the prepared box is slightly pressed and smoothed so that it is not so airy. It is worth looking at the description and diagrams on the seed packaging, they will also help you to sow correctly. In general, it can be said that using your finger, you can make holes approx. 5 centimeters apart and 1 centimeter deep, sprinkle 3-4 seeds in them, and then cover them with soil.
After that, the seeds must first be watered thoroughly. Use a sprayer, taking care not to wash them out of the ground (that is, they remain under the soil layer), then finally come the foiling (using plain kitchen foil) to help the greenhouse effect a little until the sprouts come out of the ground.
Put the pot together with the mat in a place where the temperature is at least 19, but preferably 22-23 degrees. I put the box on top of the radiator and briefly raised the heating to 23 degrees.
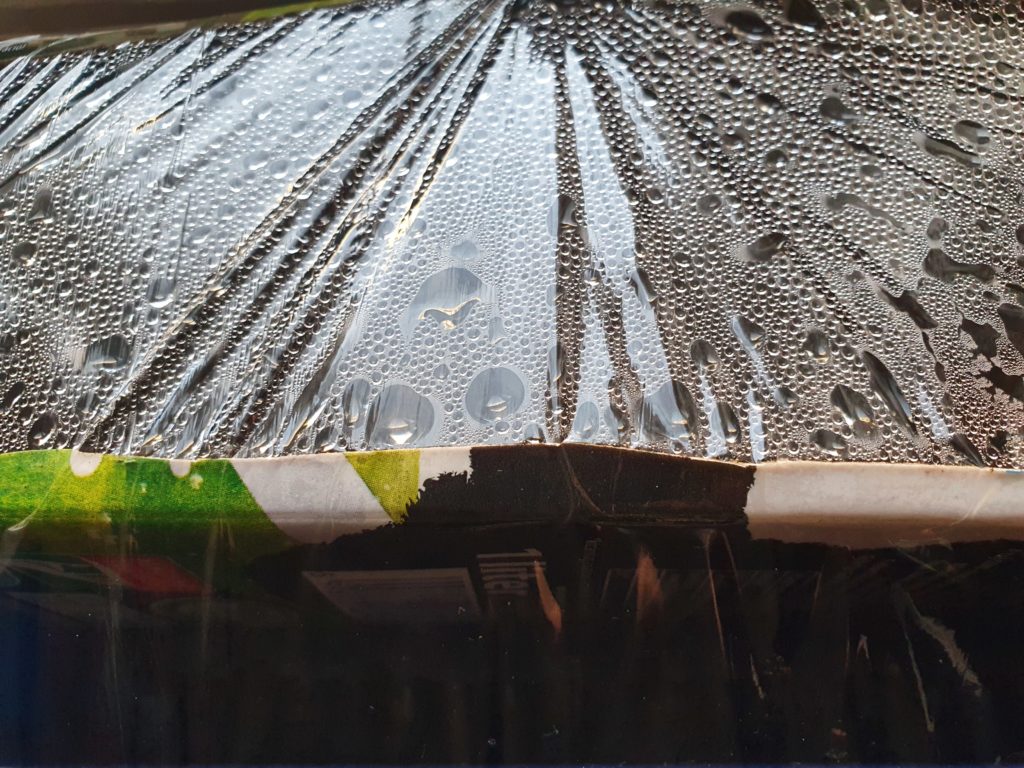
Due to the heat, the steam condenses on the foil cover of the “finished” container, which allows the seed to be continuously replenished with water until germination.
From there, we just have to wait.
In a week or two, the plant will germinate, and then the foil can be removed, and the 10-12 hours of light therapy per day can begin (following our night-day period), which, as I mentioned, can be replaced with a fluorescent or LED bulb in the absence of natural, direct sunlight.
Result
Are you interested in what parsley looks like when it sprouts? 🙂
Here it is – a parsley sprout condensed into three consecutive photos:
Beautiful, isn’t it? 🙂
As I mentioned, I also sowed basil, tomatoes and cherry tomatoes, and for the latter two I saved the price of seeds because I dried the seeds in the vegetables and planted them.
Thank you very much, they are fine for almost three weeks now:
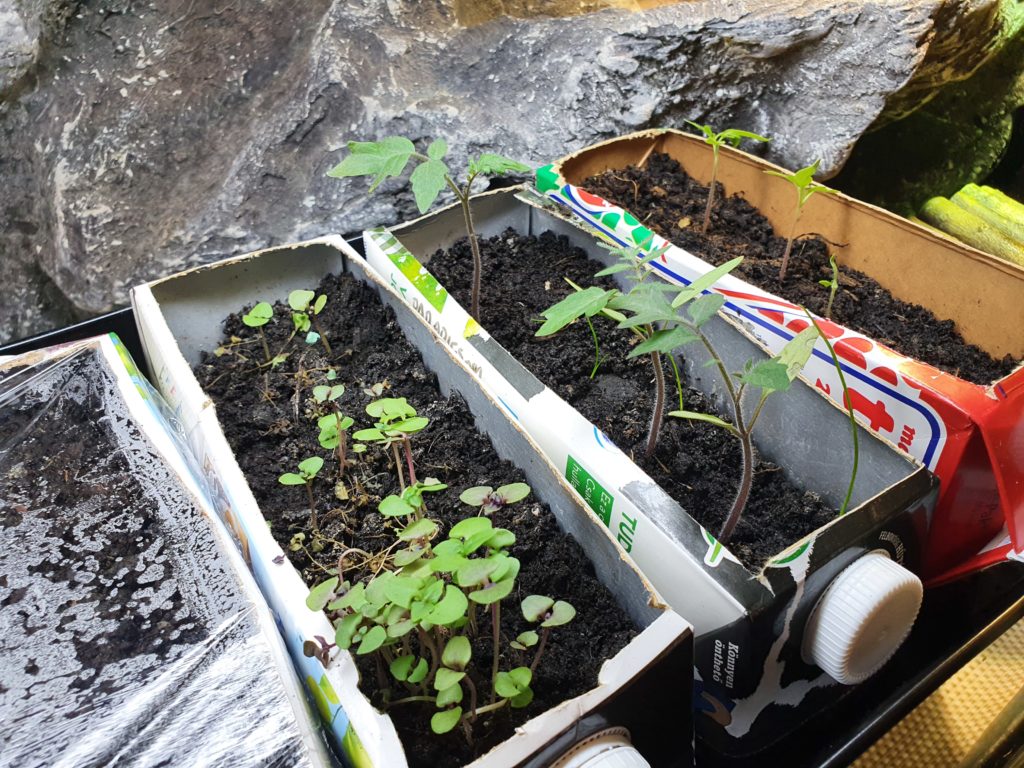
Of course, I will have to transplant the tomatoes after a while, because they require a little more space than the herbs, but I am curious to see how it will turn out.
Finally, a few tips:
- There is no need to panic if the germination does not happen immediately after a week – the key word is patience 🙂
- Water them when the top layer of the earth is dry.
- It is worth labeling our plantations. As a label, I cut a rectangle from the remaining milk carton, which I stuck with masking tape. I wrote on it the type of herb, the date of planting, and the brand of the seed for possible later quality control.
- Turn the pot sometimes, as the plant stretches towards the light, and due to the uneven load, the stem may fall over after a while.
- Above 10-15 cm height, you can already pick from them.
- As a little extra care, we can also buy a nutrient solution for our plants. In this case, make sure that, in the case of herbs, the fertilizer in the nutrient solution is suitable for human consumption.
- Also, since each herb needs something a little different, it is worth researching the cultivation of the particular plant separately. Basil, for example, especially likes to be miserable, so we can sow 10-15 seeds in a row. It and mint are the most shade-tolerant, 4-5 hours of light is enough for it, but it also requires a temperature of at least 16 degrees at night.
Well, that would be it. I hope that with my writing I managed to share – and perhaps sow – a few useful seeds of thought so that you can get through this period more effectively and more easily. 🙂

1 thought on “Covideas #2: Green fingers”