The days go by, Covid’s time is almost up, because the economy has to keep on going, life or death be damned – and the plants planted before just keep growing and multiplying. Because it’s not like it was a sudden frenzy where you plant a few plants and then you get bored and they all wither away. Not on my watch!
Note: I should write more. There’s a lot of stuff I could be writing about, it’s just that… my time is limited and what free time I have I’ve been pouring into my projects lately. Because I have several running at the same time, of course – like three or four. On the one hand, you need variety, on the other hand, you can do them in parallel, and you need to do them in parallel, so that in the end, in time, some of them come together to form a big whole. It’s clear, isn’t it? Anyway, I’ll tell you about them later 🙂
DIY (do it yourself) herb storage
Since then, I’ve had several epoch-making ideas for indoor planting, and I’ve been researching all sorts of witchcraft like the Kratky method and self-watering containers – the latter of which I’ve implemented.
First and foremost, I needed a container to keep my herb plants in, as they were starting to outgrow their little milk carton space. so I made my own homemade herb container from a Curver cake holder my mom gave me (thanks Mom!). From this:
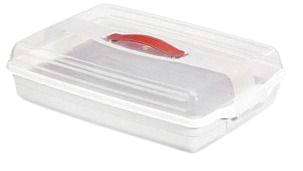
I chose this one because it occurred to me that although I’ve been reaching for flour and baking olive and sun-dried tomato root loaves, ribbon doughnuts, or sour cream and cheese scones with great relish lately, it’s very rare that I bake a pallet count and want to deliver in it (that’s happened once in two years). Anyway, it was just the right size, and it even has a recessed tray, which is perfect as a divider.
Self-watering container
But we don’t just make any container, we make a so-called self-watering container. The advantage of this is that you don’t have to water the plants as often, they just take up the water from the bottom of the container, so:
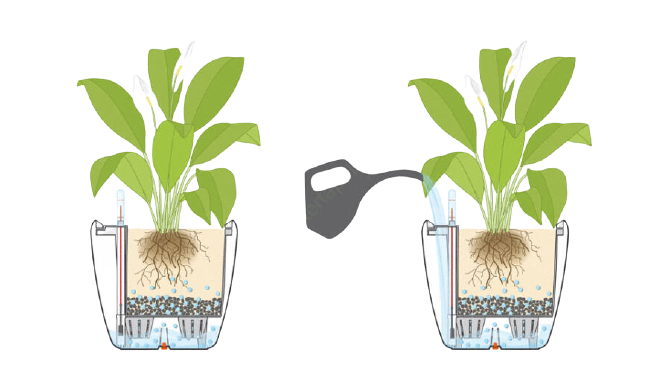
To do this, you create a water tank at the bottom of the container, cut holes in the separating sheet and fill it with a good water-conducting material, e.g. pieces of sponge. You also need to insert a pipe to feed water into the tank when watering, and you’re ready to put the soil and the plant in.
On this video, the Oasis girl with three dogs show off a ready-made, slightly more complicated device, before contemplatively eyeing the side of the pot for a bit, before heading off to Rome in a mauve dress and a cloud of intoxication.
By the way, I don’t have anything against the finished products, it’s just that stuff like this starts at 4-5000 Ft, and mine was free.
Even better, I found a video by handyman McMenemy Márk, where he is putting together a self-watering pot.
Such a solution not only reduces the frequency of watering, but also avoids many of the adverse effects of overhead watering (e.g. wet leaves can get leaf mould, or in strong sun, they can get yellowed or burnt by the magnifying effect).
Well, let’s get started 🙂
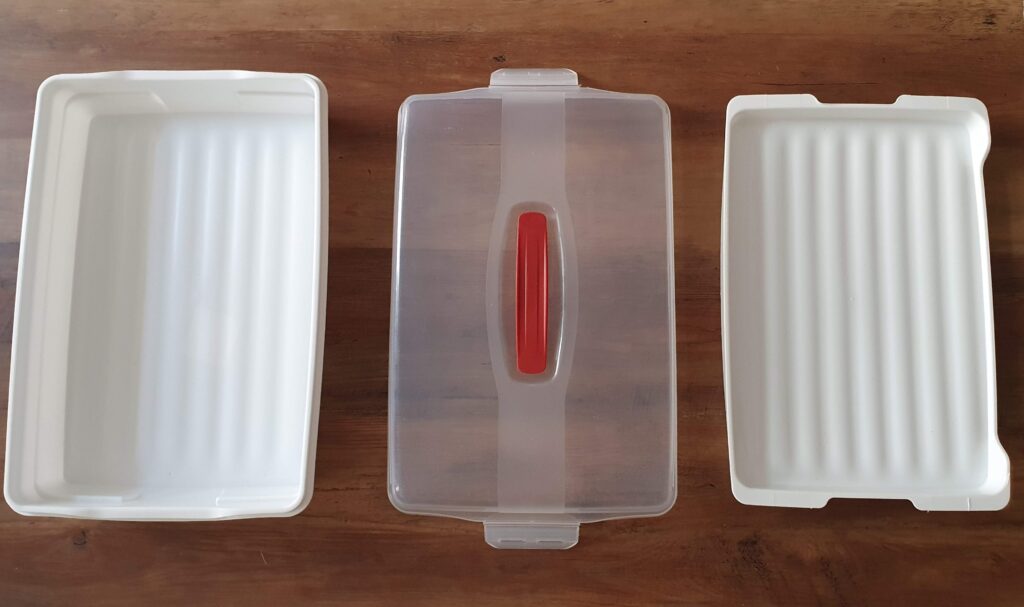
The Curver cake holder consists of three parts, a hinged transparent lid, the bottom part and the removable tray part.
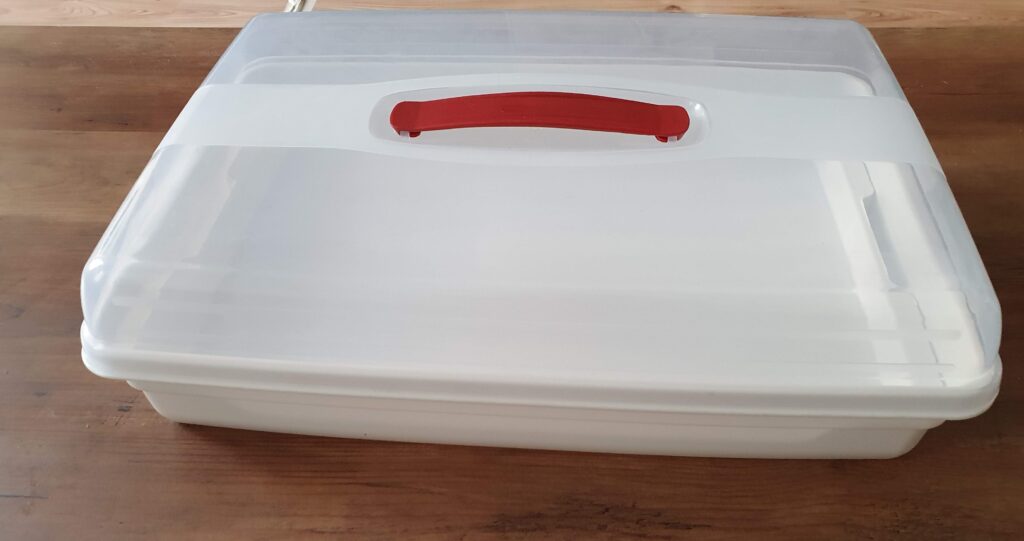
First I modified the bowl part. I drilled holes in it:
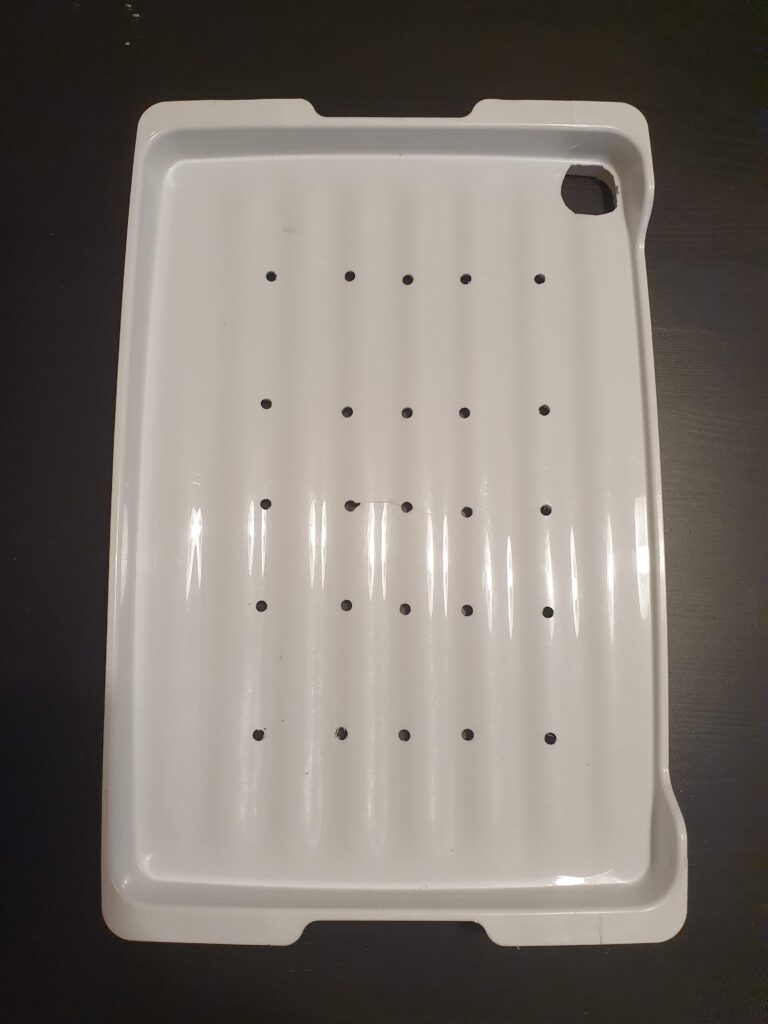
In the top right corner you can see that I’ve also cut the space for the drainage pipe. I then put the “pipe” in place and put wash sponges cut into strips in the small holes – these will convey the water in the water tank section to the top layer of soil. The “finished” tray looks like this when placed in the bottom section:
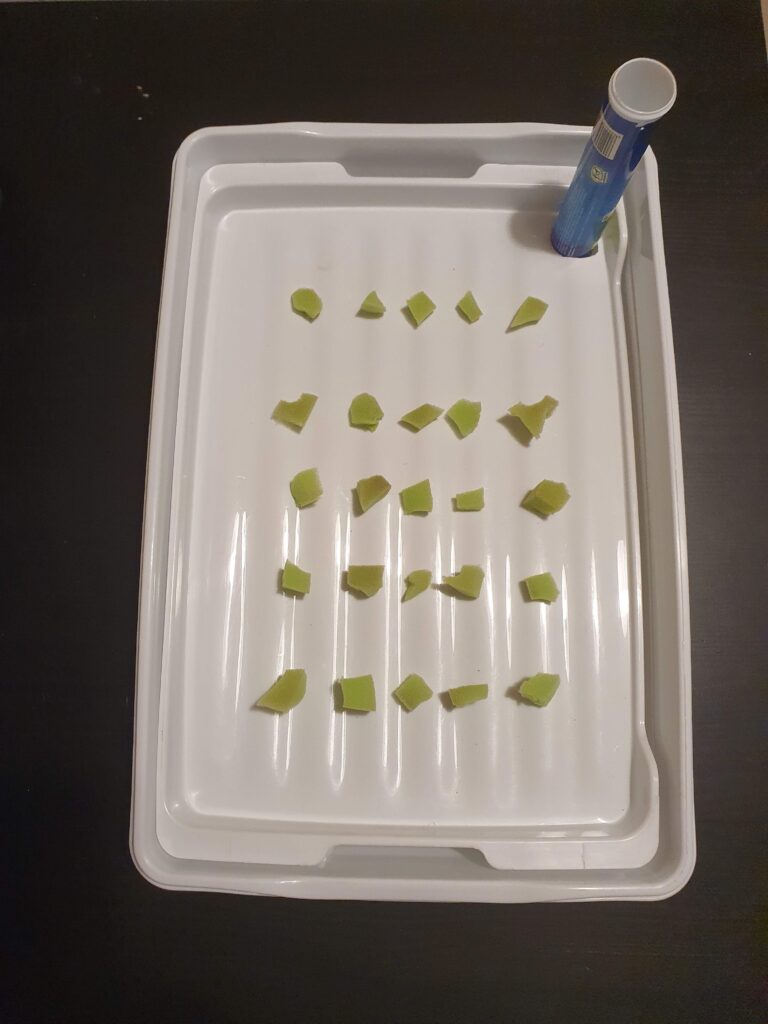
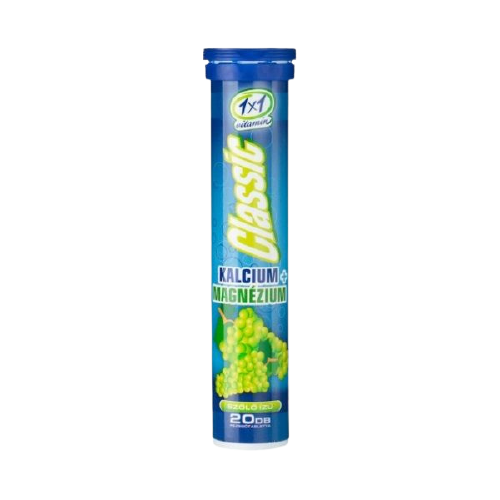
And what is the “drainage pipe”? It can be anything that is cylindrical, for example, I cut the bottom off the plastic cover of a 1×1 magnesium + calcium fizzy drink tablet. Like this:
We’re done with the tray cutter, but basically it’s still low, the container would only be about 5-6 cm high, and I’d need a bit more than that for the herbs.
I cut out the middle of the top of the container and clipped it onto the bottom:
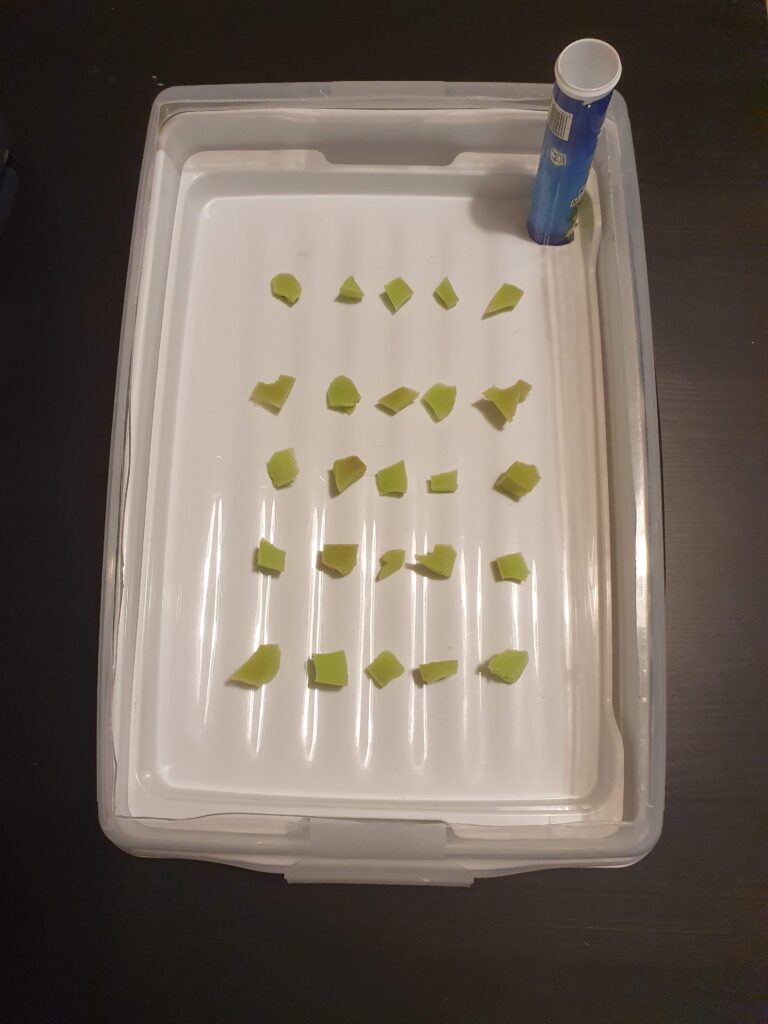
It now reaches a height of 10 cm, which I’m happy with. All that’s left to do is to support the edges of the top and the bottom tray, as well as the drainage pipe, with a little duct tape for proper insulation, and to secure the bottom to the top with duct tape on the outside:
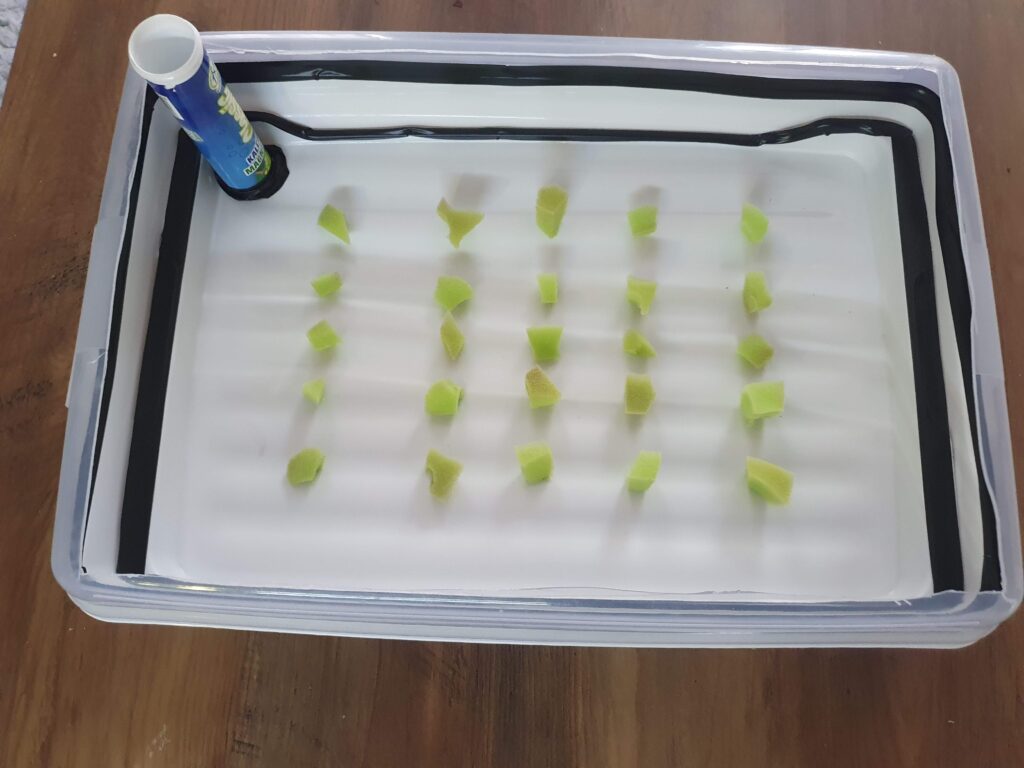
That’s it.
As it is a fairly large container, about 40 x 25 cm, I want to grow more herbs in it, in addition to moving the existing basil and parsley.
I have an unused HÖFTA clothes separator pack left over from IKEA, which was perfect for this purpose:

I made six small parcels from it, cut to size and spliced together like this:
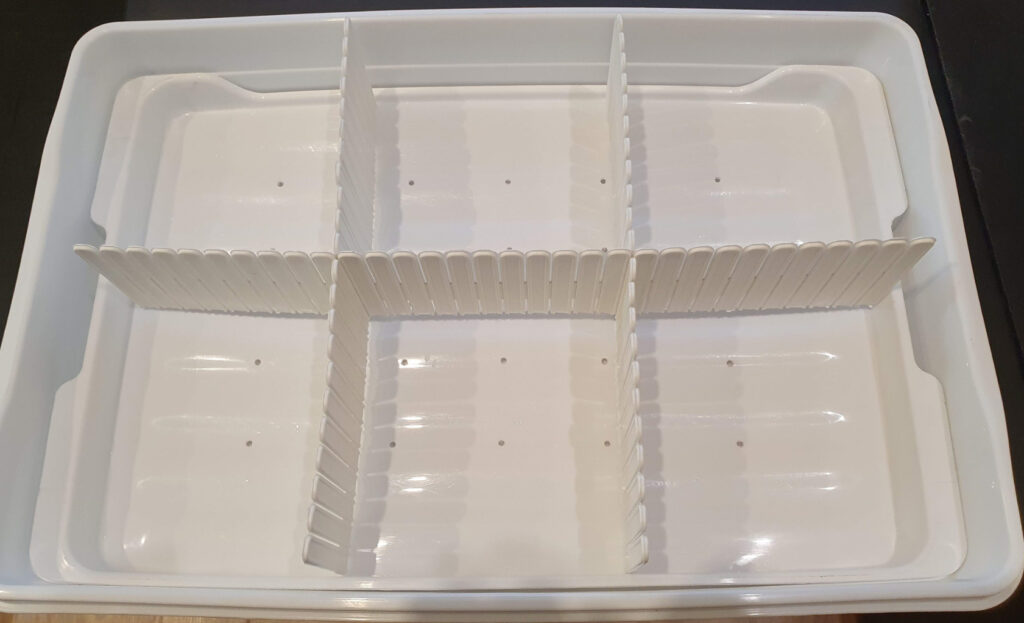
Finally, with this divider inserted into the container, the soil is ready to be spread:
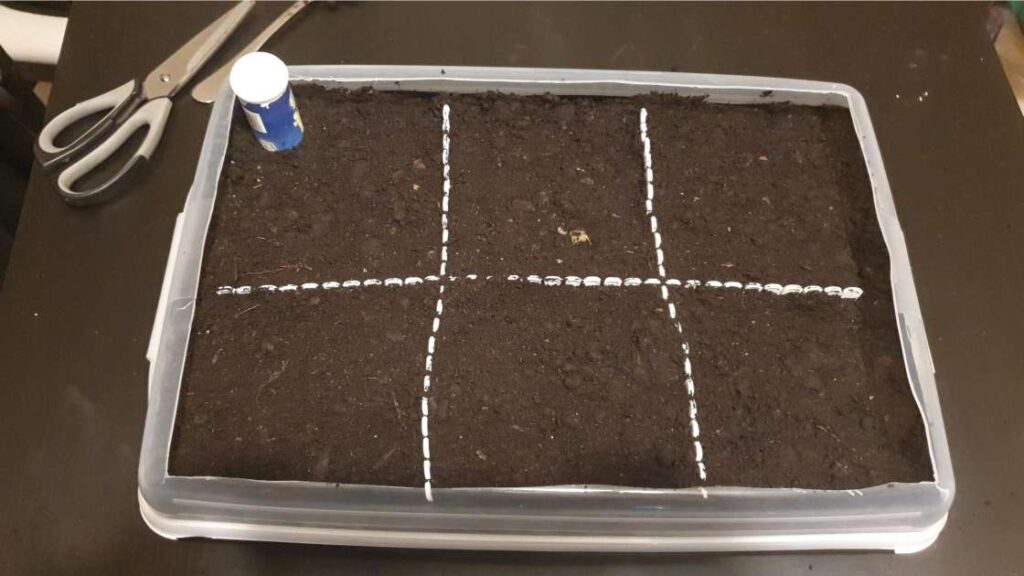
Then I transplanted the basil and parsley, and sowed oregano, marjoram, tarragon and coriander, gave them a layer of water -first from above, for the first watering- and we’re ready:
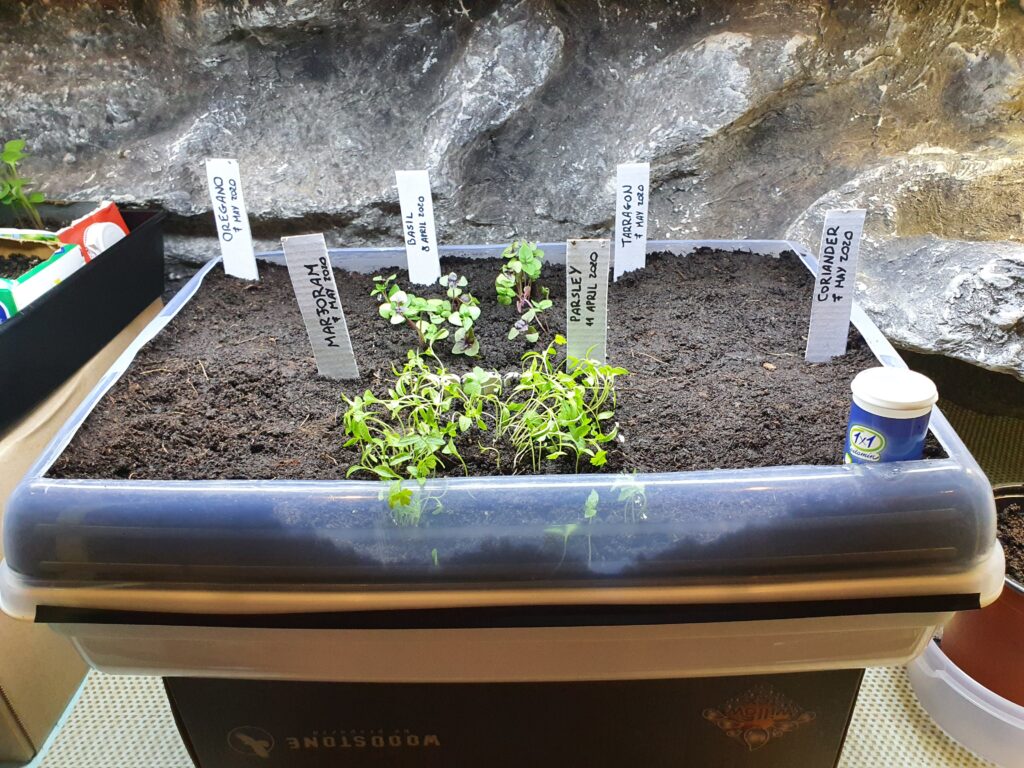
On a slight note, I don’t recommend the small strips of cardboard used as markers, as the paper can also soak up (literally upwards) moisture, and after a few days, that’s what happens to them:

So go ahead and use a plastic marker, you can do that with home tools 🙂
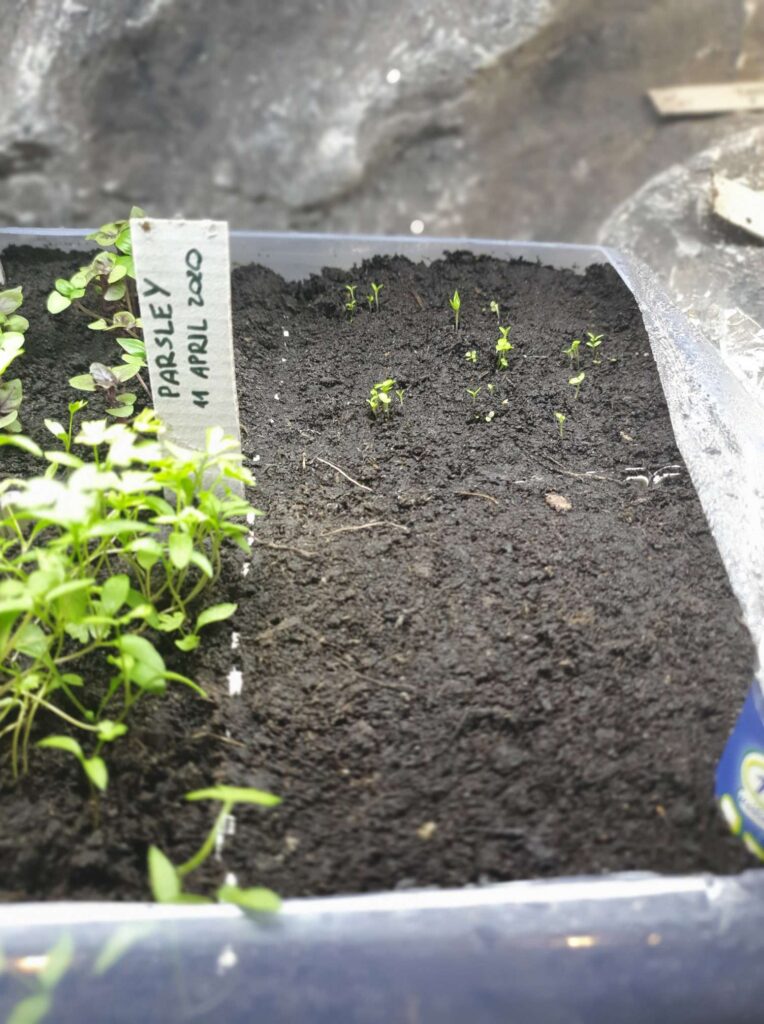
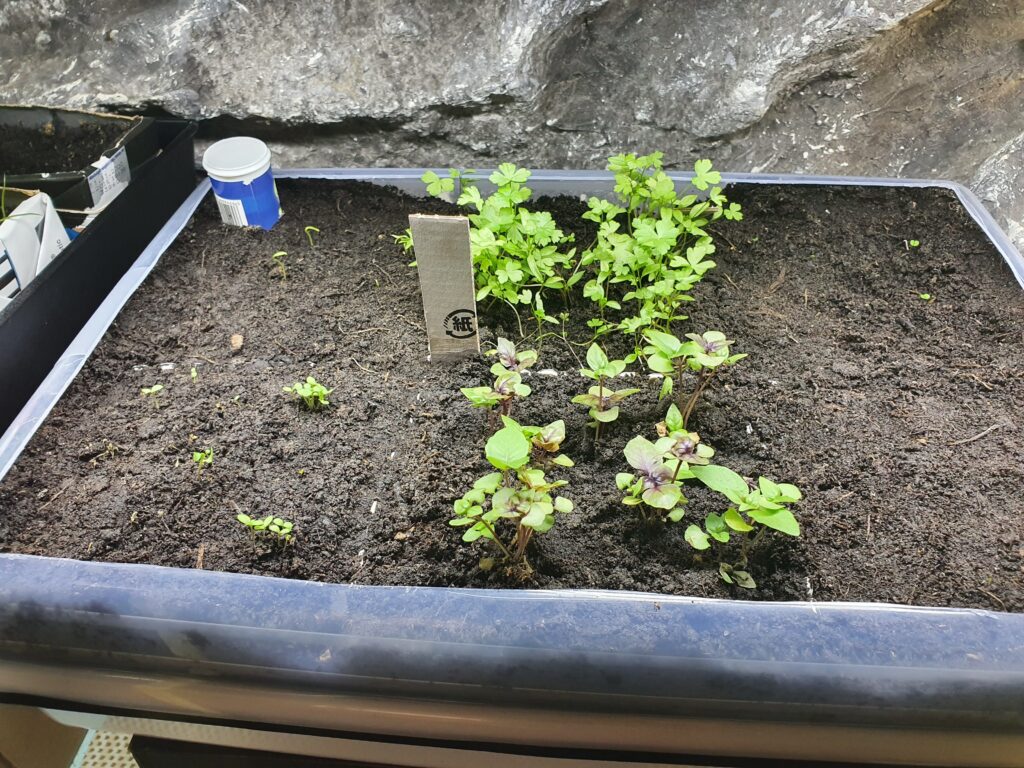
The spices are doing fine by the way, all but one have sprouted and are growing nicely:
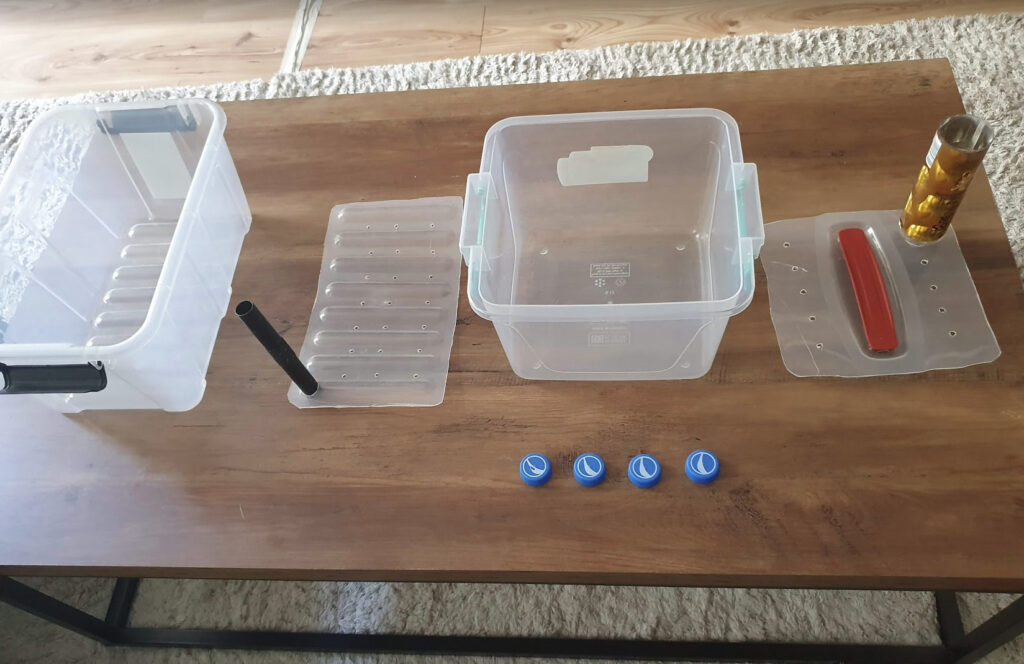
I have then put together two more similar, only smaller, containers from plastic containers, based on this one, which I plan to use for lettuce and cocktail tomatoes (The Pepsi caps are popping out as spacers for the bottom of the container):
Well, that’s about it. In the next post I’ll go one further in home gardening, and then I plan to go two more, but we’ll see. 🙂
