
Table of Contents

Ever since I once tasted real Italian pizza in Sicily, I have redefined the concept of pizza and of course, I have become even more fond of Italian cuisine.
Now, in the midst of COVID and home office work, although my diet has become a bit more restrictive, I do get a craving for a slice or two.
Then one day it occurred to me that it’s more cost-effective and special if I make the pizza dough myself. And of course then I’d use a real Italian recipe – because I can.
Pizza Napoletana
Pizza Napoletana, or Neapolitan pizza, is a speciality from the south of Italy, so much so that it has geographical protection in the European Union. Many people confuse it with the Italian thin crust pizza, but it is in fact just a variation of Italian thin crust pizza made according to specific guidelines.
The recipe is based on the instructions of a ‘real’ Italian grandmother and a world champion Italian pizza chef, Johnny Di Francesco.
I’ve never made pizza dough before, but since I’ve been following this recipe, every attempt I’ve made has been a resounding success with four different judges, so I can say that it’s no mean feat to put together.
The ingredients for 4-5 pizza dough of about 30 cm are as follows:
- 5-600ml warm water (not hot, just warm)
- 25-30g salt
- 2 to 4g yeast (for fresh cubed yeast, this is the equivalent of a small pinch, and you really don’t need more)
- 1kg of pizza flour (you should leave an extra quarter/half kilo for flour)
- (optional) a few tablespoons of olive oil
And for the topping and sauce:
- a head of onion
- a head of garlic
- tomato sauce
- salt
- pepper
- oregano
- basil
- again, a little olive oil
- salami
- ham (for authenticity, prosciutto crudo is recommended)
- mozzarella cheese – 100-200g of this is enough for one pizza
If you want to save time, you can use e.g. a jar of Bolognese basil sauce or napoletana sauce instead of the tomato sauce.
Digression – what is pizza flour?
When using our ‘traditional’ fine flour, also known as zero flour, we may have come across the BL-55 symbol. This means that it is Wheat Flour, milled to a proportion with an ash content of 0.55% (i.e. low bran content). It is worth noting that this type of flour is particularly unsuitable for making bread at home, for example, as it is too low in bran and fiber; for white bread, BL-80 flour is recommended.
So what is pizza flour??
Pizza flour, also known as 00 flour, is a special, extra fine flour that is less sticky and makes it easy to stretch and rise.
In this country, for example, the brand Grandma’s Secret also has 00-flour, which is what I use when I make pizzas.

Making Italian pizza dough at home
The recipe is simple, but in some aspects it is radically different from the Hungarian dough making method, because we don’t run the yeast.
The Italian method is as follows:
- Mix the 30 mg of salt in lukewarm water and dissolve it.
- Then, since the salt would inhibit the yeast, we add about one tenth of the pizza flour, i.e. about 10 dkg, to the salted water.
- Mix this together smoothly by hand and stir until you get a thicker, pancake batter-like consistency.
- Then, without whisking or any other magic, you just crumble in a few grams of yeast, which may seem brutally small, but trust me, that’s all you need.
- Once that’s mixed in and dissolved, we slowly add the rest of the flour, and start mixing it all together by hand.
… And that’s the “science”.
Knead and turn this mixture until the dough comes together.
And yes, you can even use a kitchen aid to mix it if you want to be lazy.
Once you have the dough sufficiently worked together, turn it out onto a lightly floured table or counter and continue kneading for about 10 minutes. Once it’s done, the dough will take on a consistency something like this:
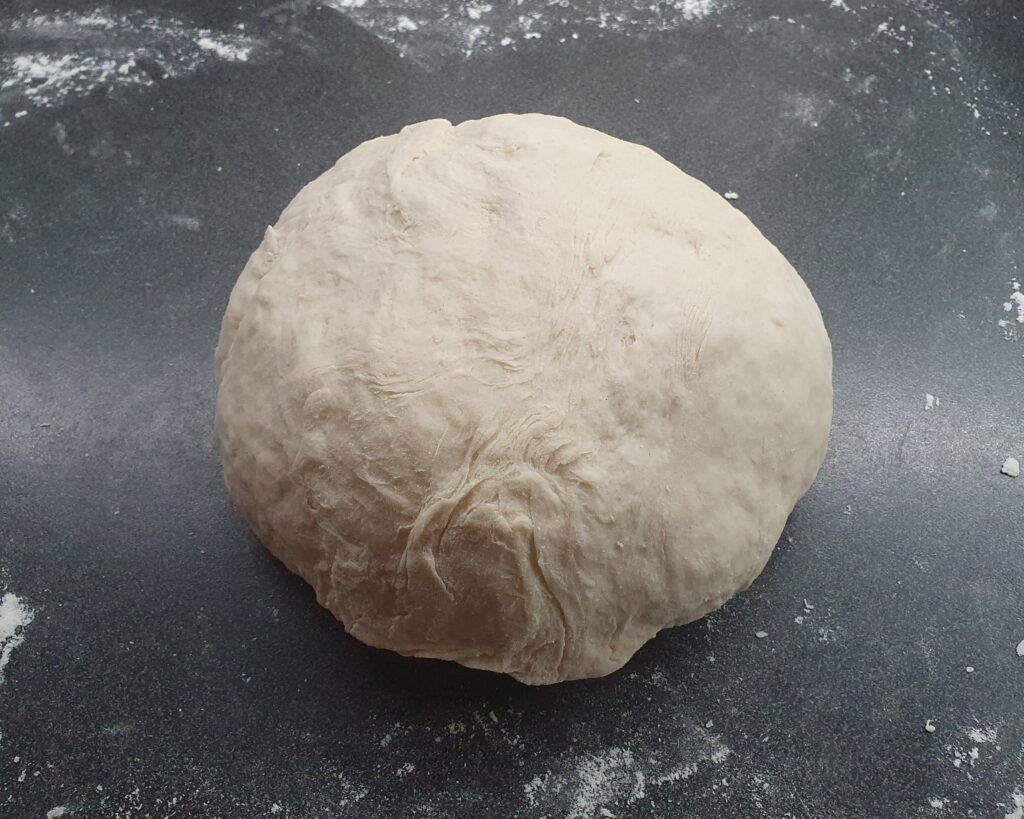
The way to check that you’re done is to press the top of your dough slightly with a finger and it will “spring back” to its original shape – meaning the dough is quite elastic.
At this point, we can rest a little, and so can our dough, because the next step is to cover it with a damp cloth or tea towel for at least 2 hours.
Háromba vágtad, édes, jó Lajosom? – Háromba? Nem. Négy egyforma darabba vágtam.
Örkény István – Tóték
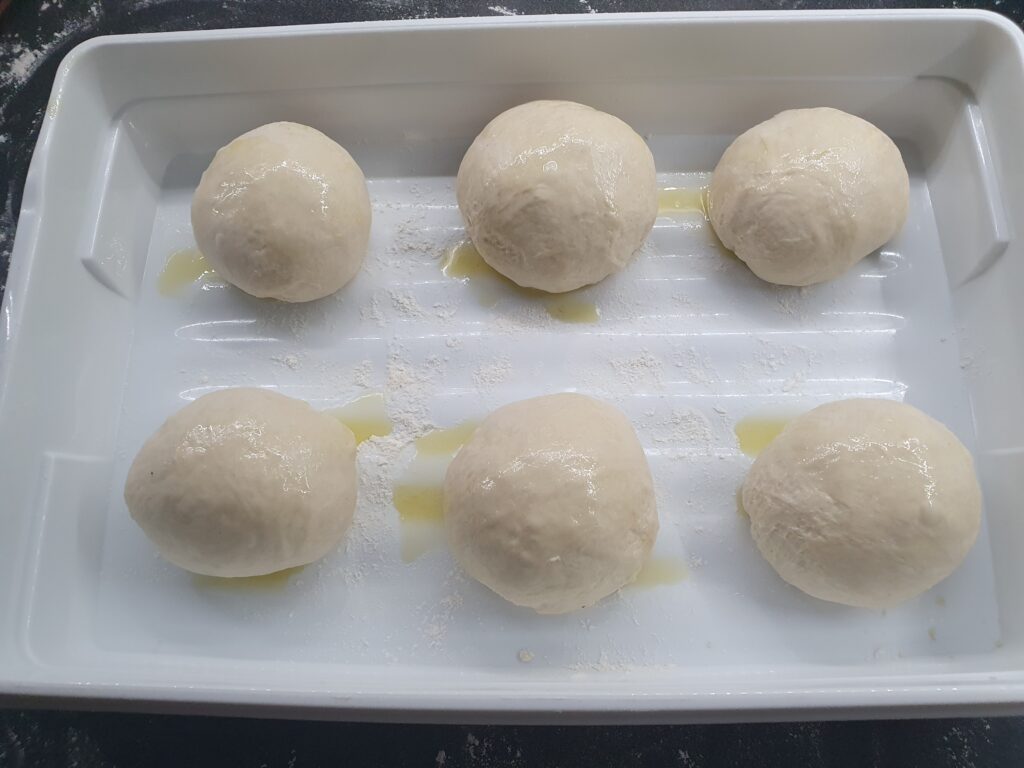
After resting, we return to the dough and cut it into 220-250g pieces and form them into balls. This can vary depending on the amount of flour, for example I made four small pizza balls the first time and six the second, although I didn’t vary the proportions much.
To help you form the pizza balls, in addition to the simple countertop rolling method, you can also watch Johnny Di Francesco’s video below with several alternatives. I think this can be reproduced without further explanation, even for non-English speakers.
Finally, once the pizza balls are ready, all that remains is to rest them again, not in the usual way of putting them in the fridge, but at room temperature, so that they can at least double in size.
To do this, get an airtight box or pastry container and place the pizza balls on the bottom, sprinkle a little flour over the top, optionally drizzle a little olive oil over them and spread evenly:
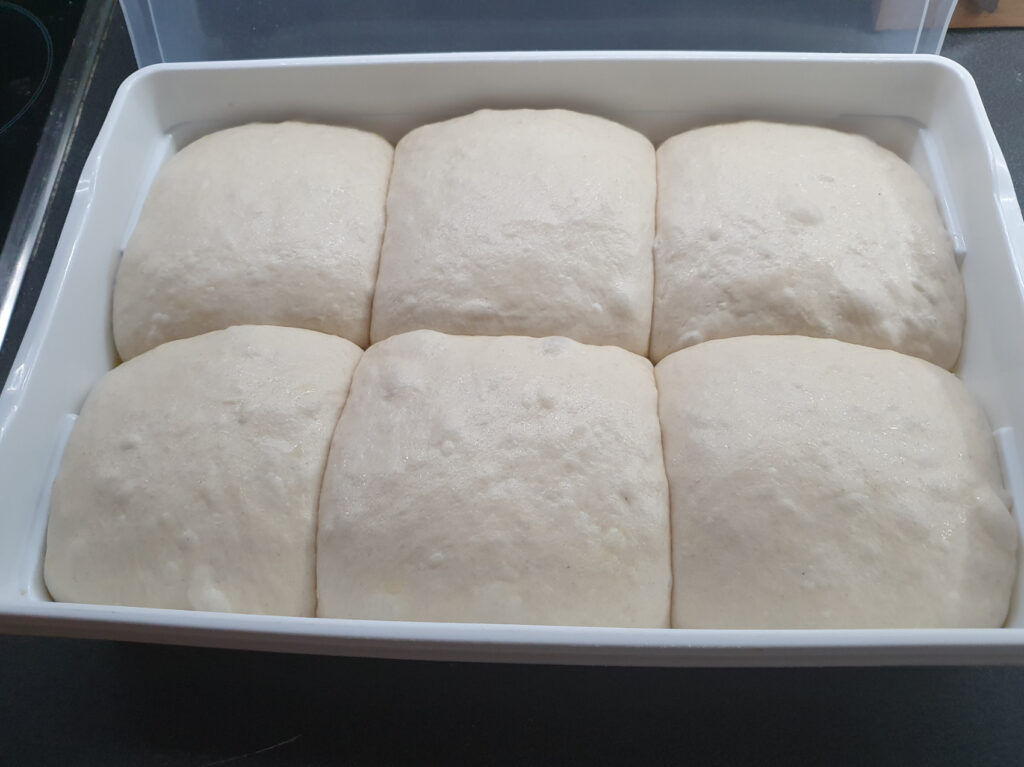
Then close the box and set aside for as long as possible (up to 24 hours, as I did), ideally at a temperature of at least 18 degrees, but a warm 23 degrees will be perfect for the yeast in the dough to do its magic and the pizza balls to at least double in size.
The hangover dough
If you take out your box the next day, or at least after resting, you’ll find that your dough balls have grown to the right size – in my case, so much so that they barely fit side by side:
If you take a portion out, you can feel that the dough is so sticky that you can easily stretch it out by first flattening it a little, then turning it around in the air between your fingers, leaving a finger’s thickness at the edge, and the dough will simply stretch into a circle under gravity.
Note, don’t be surprised if you don’t manage to get a perfectly circular shape – I prefer to call my slightly chalice version “rustic”. 🙂
Next, place the rolled out dough on a lightly greased baking sheet, arrange the shape, and then add the pizza sauce.
The pizza sauce
Although sauce is something that everyone makes to their own taste, I’ll describe how an Italian napoletana pizza sauce is originally made:
- Fry half a head of diced red onion and a little garlic in olive oil
- Pour in the tomato sauce (made from peeled tomatoes)
- Season with salt and pepper and add oregano and basil at the very end
- Mix and leave to simmer for a while
You can see that this is also a simple thing to do, but of course if you’re lazy you can use a pre-made, store-bought version with similar ingredients as a substitute.
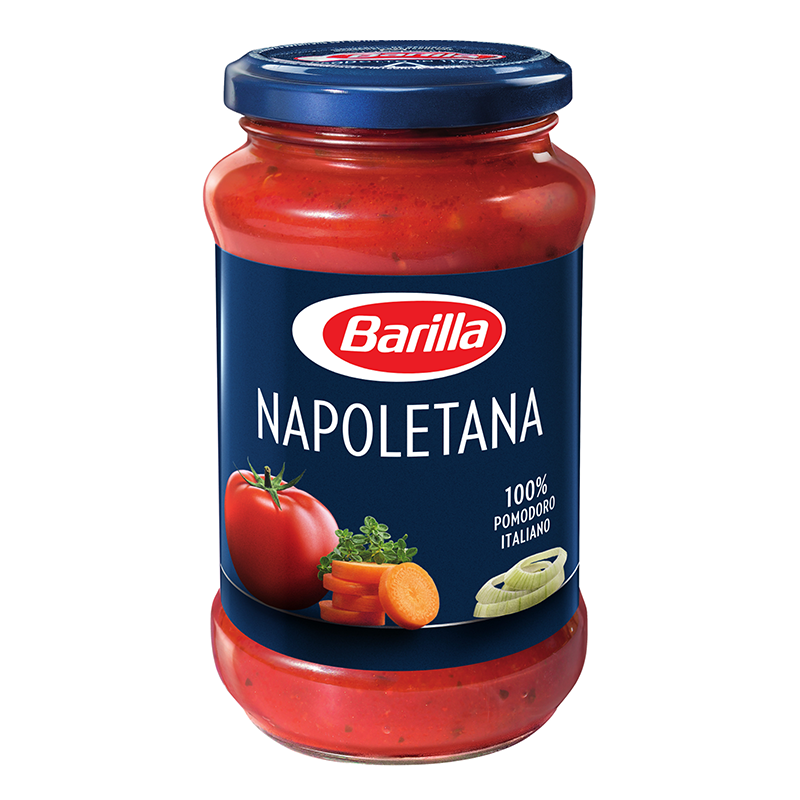
I once used a Dolmio basil Bolognese sauce for simplicity, and other times I used a Barilla Napoletana sauce – I probably prefer the latter:
You might also add a little olive oil to the pizza sauce to help the flavour harmony of the pasta.
You don’t need to go over the top(ping)
We Hungarians like to pack our pizzas to the brim, but this type doesn’t need to be overloaded with toppings. Trust us, the combination of dough, sauce and minimal toppings, plus the flavour of the mozzarella, will produce the perfect result.
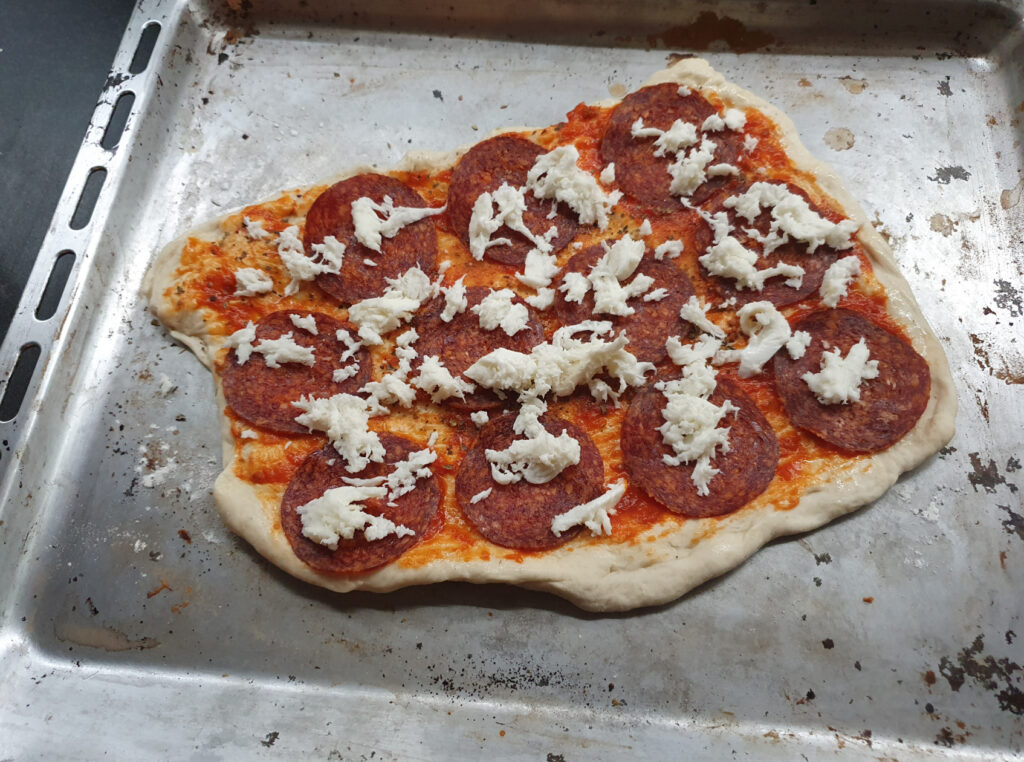
Below I show you a version with salami and a version with ham.
I’ll admit that for the salami I had to use plain CBA Red Salami, and I know that’s blasphemy, but even that was a smashing success (it doesn’t hurt to get a better quality salami though 🙂 ).
For ham, I recommend the slightly more expensive prosciutto crudo – not to be confused with prosciutto cotto, which is a plain cooked preparation and not as rich in flavour as crudo.
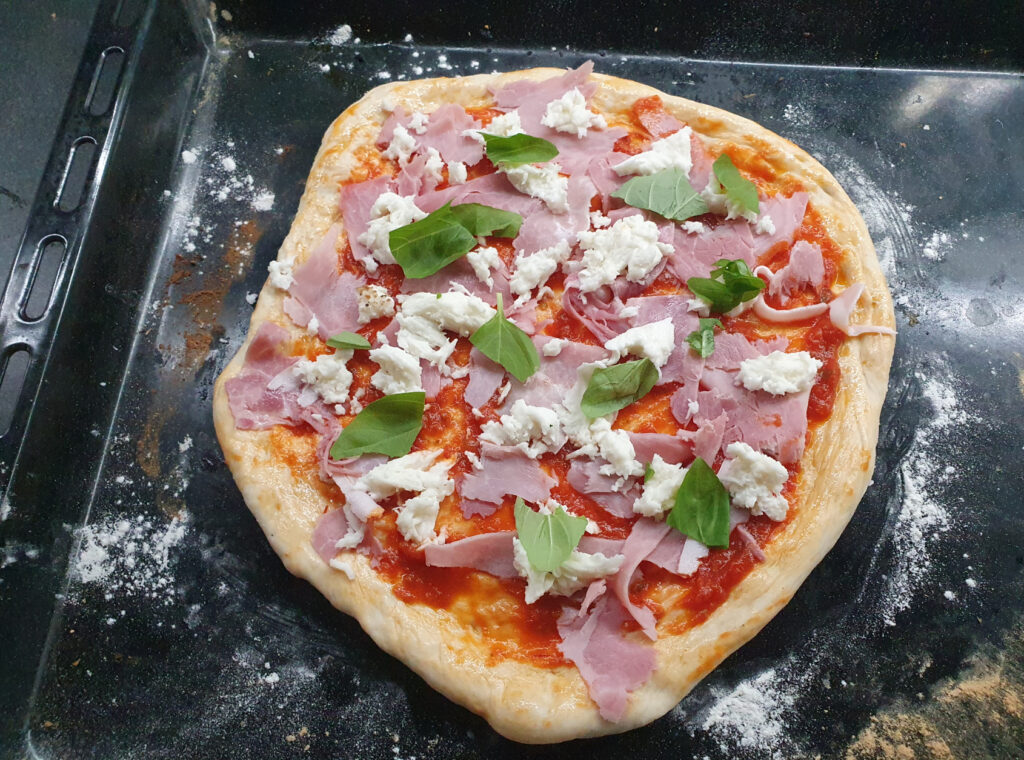
After the ham or salami toppings, we put chopped pieces of mozzarella cheese on our pizza, and finally we can sprinkle a little basil and oregano on top:
Baking
Unless you have a traditional wood-fired oven in one corner of your home, burning at 4-500 degrees, you will use the oven in your kitchen for baking.
Simply turn up the heat to maximum (which stops at about 230 degrees for me) and, either in air-mix or plain mode, place the pizza on the bottom and bake in the preheated oven for about 5-10 minutes depending on the temperature (but watch it first time, just in case).
And the results
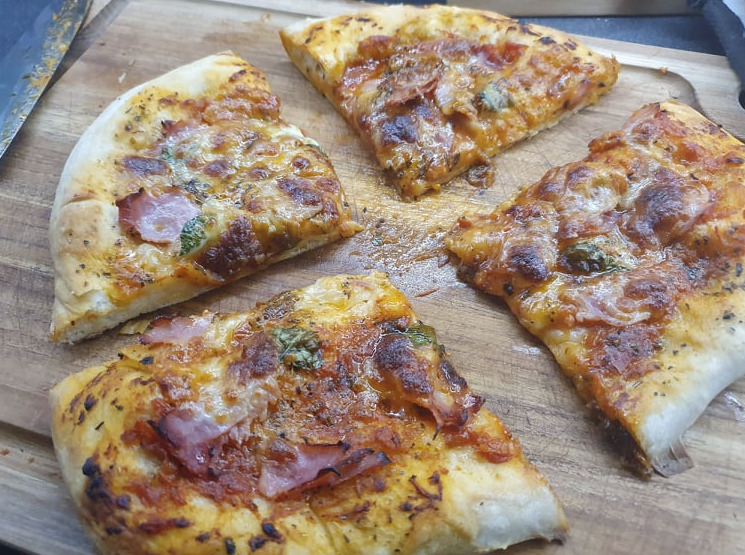
If you’ve done your job well, and the oven has done its job well, you can serve yourself and your guests a pizza with a crispy, yet soft, crumbly dough, like the one pictured above.
Final thoughts
In all the baking sessions so far, neither I nor any of the judges I have served have ever felt that ketchup, mayonnaise or anything else was needed for a pizza like this.
What I did hear from everyone, without exception, was that this pizza was second to none in terms of taste – and on one occasion it even won the title of “best pizza I’ve ever had”!
I can wholeheartedly recommend it to everyone, as it is easy to make, cheaper than the pizza you can buy in pizzerias, and in my experience, tastier.
And if you have more dough than you want to eat, that’s fine, because you can put the pizza balls in a fresh foil and put them in the freezer to defrost and enjoy the real Italian pizza napoletana in your home.
Enjoy your meal! 🙂